Showing posts with label cakes for girls. Show all posts

One magical unicon fairy cake please - Happy 3rd Birthday Abby!

Two tiered rainbow cake


For Abby's 3rd birthday she requested a Mia and Me inspired cake, with extra unicorn!


I used a simple vanilla sponge for the base. To get a rainbow effect I divided the cake batter into a five separate bowls and coloured each of them a different colour. I then slowly poured each colour into the centre of the cake pan. I made two round cakes, one slightly smaller than the other. 


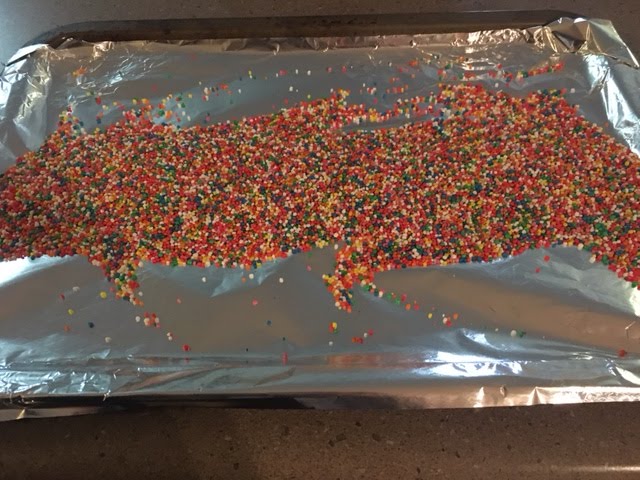
Once the cakes had cooled, I made a big batch of pink buttercream frosting and iced both cakes. For the base layer I rolled the cake sides in a tray of rainbow sprinkes and also coated the top of the cake.


After placing the two tiers together I piped a little icing to hide the join and added some small fondant flowers and leaves (and the candles of course). This cake was made so much less complicated because I purchased the unicorn from ebay (make sure you order well in advance).


The finished cake turned out OK and the rainbow insides were a nice surprise!


Jurassic Birthday - Angus is 2!

Chocolate dinosaur cupcakes


I was on a  roll with fondant work so I decided to attempt these cute dino cupcakes.


The dino heads and tails are fashioned from fondant. This was done a week in advance to allow them time to dry. The eyes are completed with edible pen, the lettering was created with cutters.


I baked a batch of simple chocolate cupcakes and a few different colours of buttercream frosting that i piped on. The heads and tails were pushed into the frosting/cake and finished with some sprinkles.


The Naked Cake

It's all the rage, so I had to give it a try! It's was way harder than I anticipated and I really should have done more research. Thankfully cream and edible flowers (courtesy of the lovely Brigid! at my fav cafe Alley Cats) saved the cake from being a total fail!


For the actual cake I used a simple sponge cake recipe (check out the go-to page for this). I used three small round pans and added a different amount of purple coloring to each. What I didn't consider was that the edges of the cake would not be purple, they were of course a slight brown from the baking process.


So the main lesson is that for coloured naked cakes, you need a cake cutter! Really you can make one large cake and simply cut smaller cakes out of it - that's how I will do it next time. Of course if you are doing a naturally coloured chocolate or vanilla naked cake (no colours) this is probably less of an issue. So to save this project from complete failure, I tried to carefully cut (free hand as I didn't have a cutter big enough) around the edges and top of each cake.


I then whipped some thickened cream with a little icing sugar and vanilla and used this, with some fresh berries between each layer of cake. With lashings of fruit and gorgeous edible flowers the cake turned out ok in the end!


Tinkercake - Happy 6th Birthday Penny

Fairy garden themed Dolly Varden cake


Penny was having a fairy themed party, a perfect opportunity to make my very first Dolly Varden cake!


So why is it called a Dolly Varden cake? I pondered this question all weekend while I worked on this cake! Turns out the cake tin is names after the Dolly Varden style of dress popular in the 18oo's.


The fairy base:

To start this one off I made two simple vanilla sponge cakes, one in a special Dolly Varden cake tin (kindly gifted to me by a friend) and one in a normal round cake tin. I made one batch of the following simple recipe for each of the cakes.

Ingredients:
  • 200g butter
  • 1 cups caster sugar
  • 4 eggs
  • 1 teaspoon of vanilla paste
  • 1 cup milk
  • 2 ½ cups self-raising flour
Cream the butter and sugar well, then add the eggs and vanilla and mix well.  Fold through the milk and flour in alternating small batches. Bake in 180 degree (pre-heated) oven for 40-50 minutes until cooked through. I was worried about the cake sticking in the Dolly Varden ton, so I buttered it well and also coated it with a generous layer of flour.


The garden:

Next I made a double batch of chocolate cupcakes using my go to recipe. I decorated the cupcakes using butter cream frosting (go to recipe for this will be up soon) and some simple flowers made with vanilla fondant (fondant and frosting coloured using sugarflair spectral paste) as well as some store bought sprinkles and sugar work.


The fairy:

After cooling both cakes I started by frosting (in dark green coloured butter cream frosting) the base cake and putting it in the fridge to set a little. Next I added the Dolly Varden cake and frosted it using a light green coloured butter cream.

To add the doll I made a couple of incisions in the top of the cake. I wrapped the bottom half of the doll in glad wrap to protect her (she was Penny's birthday present!) and gently pushed her into the cake until just her torso was visible. Both cakes then went back into the fridge to set a little before the decorating started.


To finish I decorated using coloured vanilla fondant, cake glitter, store bought sugar work and some craft butterflies. Transport was tricky (definitely a two person job!) but all the cakes made it to the party safely!